
First impressions matter—especially when you’re selling, refinancing, or finally tackling that long-postponed exterior refresh.
But choosing a front-door color, siding profile, lighting, or landscape plan from swatches and phone pics is risky.
What looks great on a sample can feel too dark at dusk, too glossy in full sun, or out of step with your street once it’s installed.
Exterior 3D visualization solves that problem. By previewing your façade at true scale—day and evening—you can make confident choices, prevent costly missteps, and show everyone (from family to HOA) exactly what you’re planning.
HULIQ readers already care about curb appeal and exterior upgrades, and for good reason: these are the improvements that shape a home’s value and buyer interest almost instantly.
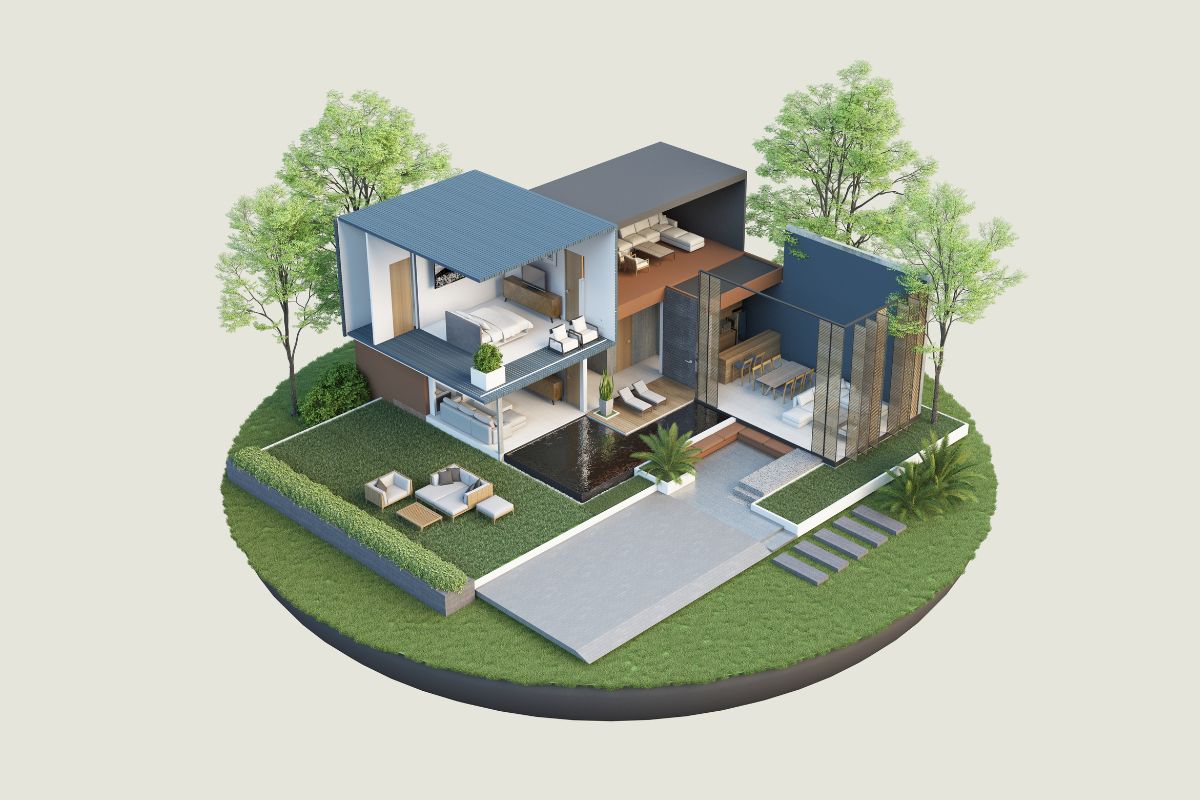
What is exterior 3D visualization?
It’s a lifelike image (or short video) of your home’s exterior, generated from basic measurements and photos. Unlike flat mood boards, 3D views show scale, light, materials, shadows, and sightlines in context.
You can compare two siding colors side by side, see how a darker roof changes the look of your elevation, or test a new porch design before you ever order materials.
If you’d rather not learn software, you can collaborate with a studio that provides 3d architectural exterior rendering.
You share measurements, a few photos, and your ideas; they return decision-ready views you can use with your contractor, agent, or HOA.
Where an exterior render pays off immediately
Front door and entry
A door is a small surface with an outsized impact. In a render, you can try:
- Deep vs. bright colors (and how they read at midday vs. dusk)
- Glass lite styles and privacy film
- Hardware finishes that match porch lighting
Siding and trim
Siding texture and trim width change the whole personality of a home. Use 3D to:
- Compare lap vs. board-and-batten vs. shingle accents
- Adjust trim widths around windows and corners
- Check where vertical seams will land on wide walls
Roofing and gutters
A new roof is visible from the street—and the listing photos:
- Test shingle color families (charcoal vs. warm gray vs. brown)
- Preview metal accents over the porch or bay window
- See how gutter color disappears or frames the fascia
Windows, shutters, and garage doors
Small shifts create balance:
- Align mullions with sightlines and interior layouts
- Try shutter widths that actually fit the window (many are too narrow)
- Preview carriage-style vs. modern garage panels and confirm how the texture looks in shade
Hardscape and landscaping
Balance plant massing with architecture:
- Scale shrubs to window sills and porch rails
- Add a paver path that meets the driveway cleanly
- Place low bollards or step lights to guide guests at night
Lighting at dusk (“blue hour”)
Most curb appeal photos happen at blue hour. In 3D, you can:
- Set warm temperature for porch sconces so they glow (not glare)
- Verify that up-lights don’t wash neighbors’ windows
- Highlight the front walk without turning the yard into a runway
Planning to sell? Use exterior renders to guide smart, market-ready choices
Even small, strategic changes—fresh paint, updated door hardware, tidy lighting—can make a listing feel newer and better maintained. A quick render helps you:
- Choose one palette (roof, siding, trim, door) that photographs well
- Right-size landscaping so the house, not the shrubs, is the star
- Capture hero images for your agent’s pre-list marketing
Buyers scan photos quickly. Consistent, balanced exterior choices help your home stand out for the right reasons and support the impression of a well-cared-for property.
Remodeling soon? Renders reduce rework and site surprises
Contractors love clarity. When you share a day view and a dusk view plus a few labeled close-ups, you reduce phone calls, returns, and “I thought you meant…” moments. Helpful details to include with your render:
- Centerlines and heights for sconces, house numbers, and mailbox
- Trim profiles and where they change (e.g., gable vs. eaves)
- Material transitions (siding to stone, porch to walkway)
If you’re phasing the work (say, roof this year, siding next), renders keep the end goal in sight so each phase moves you toward the final look.
HOAs and permits: show, don’t just tell
Most neighborhood committees want to ensure updates fit the community. A simple two-page packet—day view, dusk view, palette swatches—usually gets the conversation started on a cooperative note.
You’re not asking them to imagine a cobalt door under a copper awning; you’re showing them exactly how it looks from the street.
For permits, 3D images aren’t a replacement for drawings, but they can smooth reviews by clarifying intent: roof plane changes, porch depth, and how stair lighting addresses safety.
What to gather before you start (no perfection required)
- Basic measurements: overall width, wall heights, window sizes, porch depth
- Photos: straight-on front shot, 45° angles from both sides, and a few close-ups of details
- Keep vs. change list: roof staying? gutters changing? windows later?
- Three decisions you want the render to answer: e.g., “warm vs. cool palette,” “board-and-batten gable or shingles,” “brick skirt or stone”
- Any guardrails: HOA color guidelines, historical overlays, or setbacks
This small packet keeps the process short—often one early “blocking” pass to confirm shapes, then a materials-and-lighting pass to lock choices.
How to read your exterior render (and spot issues early)
- Balance from 30 feet. Step back and ask: does one element shout? If the door color steals the show from the whole elevation, dial it back.
- Check shadow logic. Does the porch cast realistic shade on the door at noon? If not, the material may read differently in real life.
- Watch reflections. Glass can mirror lawns and sky; make sure mullions still read.
- Glare at night. Porch sconces should glow, not create hot spots. Lower output or choose frosted shades if needed.
- Texture scale. Stone that’s too “big” or shingles that are overscaled can look off. Your render should match real product dimensions.
Three real-world scenarios (and what 3D reveals)
The dated 90s façade
You’re deciding between keeping brick with lighter trim or adding a board-and-batten gable to break up massing. A side-by-side render shows whether the added texture feels modern or busy.
It may suggest a simpler move—lighter mortar wash and wider trim—delivering the update without visual clutter.
The HOA-friendly refresh
Your townhome association allows only certain paint families. A render cycles through the approved neutrals and shows how each plays with roof color and neighboring units. You land on a combination that blends well and still feels fresh.
The porch addition
You want shade and a stronger entry, but you’re worried about blocking windows. A quick 3D test shows porch depth options (5′, 6′, 7′) and how column spacing affects sightlines and furniture layout. You pick the 6′ depth with slimmer posts and keep the interior bright.
Deliverables worth asking for
- Day + dusk hero views straight from the street (these do 80% of the work)
- Two A/B palettes (warm vs. cool; light vs. mid-tone siding)
- Detail crops for installers (stone-to-siding joint, stair lighting placement, house-number spacing)
- Optional short walkthrough (10–20 seconds) that starts at the sidewalk and ends at the door
You don’t need a long fly-through; eye-level views are more honest and more useful.
Common pitfalls—and easy fixes
- Over-saturated colors. What pops on screen can feel harsh outdoors. Fix: preview in realistic daylight and in shade; bias slightly grayer for staying power.
- Unrealistic lighting. “Showroom” brightness can hide glare. Fix: ask for believable evening exposure so you see hotspots before you buy.
- Mismatched textures. Stone or brick scales that don’t match real products break the illusion. Fix: use manufacturer dimensions and sample textures.
- Ignoring the street. Your house doesn’t live alone. Fix: include neighboring elevations at low detail so you can gauge fit.
- Changing five things at once. It’s hard to tell what helped. Fix: adjust one big element per round (siding color or roof, not both).

Exterior 3D for investors and agents
If you’re preparing a flip or listing, renders help you:
- Publish a “coming soon” teaser with the target exterior look
- Align trades on the same end state (especially if procurement changes)
- Keep decisions consistent across multiple properties when you’re building a recognizable portfolio of updates
They’re also useful for insurance and lender conversations when you need to document the planned scope and timeline visually.
Budget-savvy ways to use 3D on smaller projects
- Paint-only refresh: two palettes, day + dusk view, and a close-up of door + sconce + numbers
- Lighting plan: dusk view with three sconce options and pathway lighting positions
- Landscape tweak: one front view with scaled plant massing and a simple paver layout
These micro-packages answer the exact question you’re wrestling with and keep momentum up.
The Bottom Line
Exterior choices should add value the first day you paint…and still look right five years from now.
A good exterior render lets you try ideas in minutes, not months—so you land on a palette, lighting plan, and landscape scheme that feel balanced, neighbor-friendly, and true to your home.
See it before you build it, and you’ll spend with confidence—whether you’re refreshing for pride of place or prepping for the market.