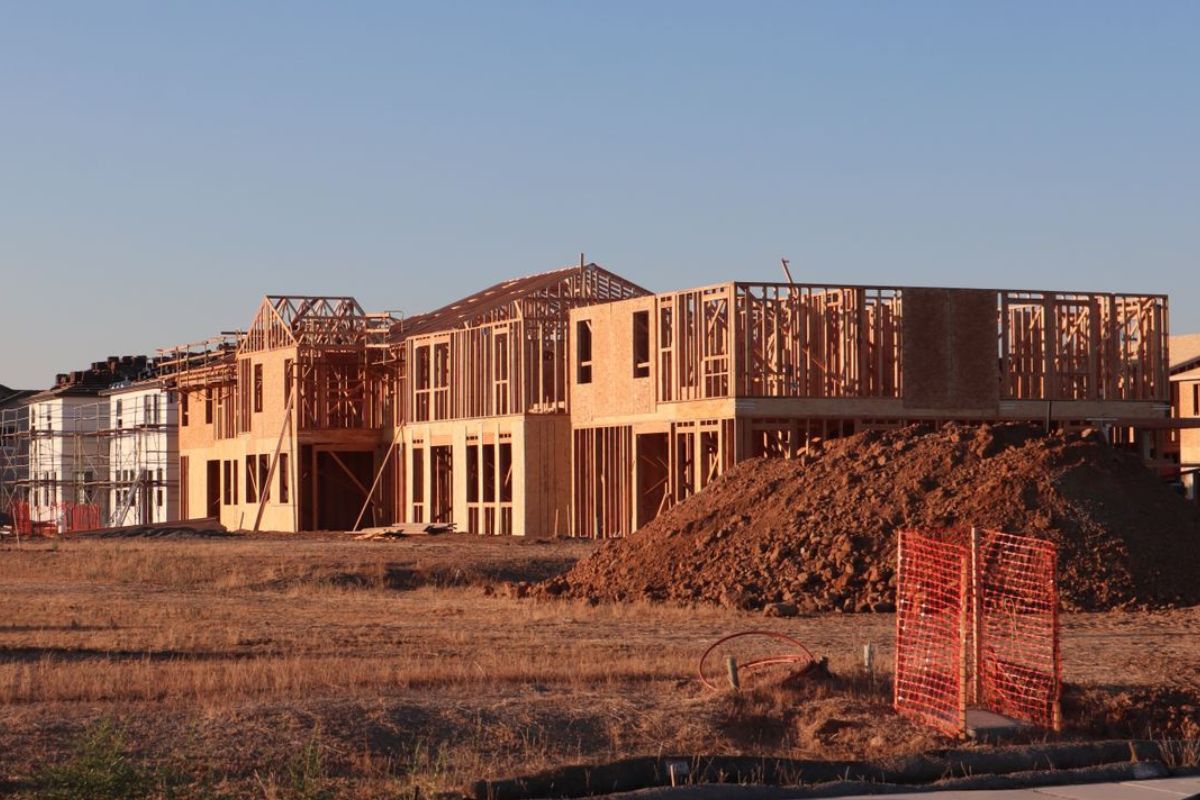
Starting a construction project can be exciting, but many property owners move too quickly into hiring contractors or requesting bids before understanding what needs to happen first.
Whether the project is a home addition, commercial improvement, new utility connection, paving project, tenant improvement, or larger site development, the planning stage can make a major difference.
This guide breaks the pre-construction process into simple, actionable steps for beginners so property owners can avoid costly surprises, delays, and unnecessary risk.
Step 1: Define the Project Scope Clearly
Before calling contractors or requesting pricing, property owners should get clear on what they are trying to accomplish.
Questions to answer:
- What is being built, repaired, expanded, or upgraded?
- Is the project residential, commercial, or mixed-use?
- Will the project require digging, trenching, boring, grading, or utility work?
- Will new water, sewer, gas, electric, or telecom service be needed?
- Is this a small improvement or part of a larger development plan?
A simple written scope helps contractors understand the goal and provide more accurate feedback.

Step 2: Review the Existing Property Layout
The site itself can create challenges that are not obvious at first. Before construction begins, property owners should review the basic layout and gather any available documents.
Items to check:
- Property lines
- Existing buildings
- Driveways
- Parking areas
- Slopes and drainage
- Landscaping
- Easements
- Existing utility access points
- Old site plans or surveys
Even a simple project can become complicated if access is tight, drainage is poor, or existing improvements are in the way.
Step 3: Understand Permit and Local Approval Requirements
Many construction projects require permits or approvals, especially if the work involves utilities, grading, structural changes, driveways, sidewalks, or work near a public right-of-way.
Possible approvals may include:
- Building permits
- Utility permits
- Encroachment permits
- Right-of-way permits
- HOA or property owner association approval
- Drainage or environmental review
Property owners should not assume that a smaller project does not require a permit. Utility work, excavation, and site improvements often have local requirements that need to be addressed before work starts.
Step 4: Identify Existing Underground Utilities
One of the most important steps before any digging begins is understanding what may already be underground.
Property owners often focus on the visible parts of a project, but underground utilities can affect cost, layout, timing, and safety.
Utilities to consider include:
- Water lines
- Sewer lines
- Gas lines
- Electric conduit
- Fiber and telecom lines
- Storm drain systems
- Irrigation lines
- Unknown or abandoned utilities
Companies like Devco Development & Engineering regularly work around existing underground utilities and emphasize that proper utility locating, potholing, and planning can help reduce the risk of costly utility strikes and project delays.
Before excavation begins, property owners should contact 811 and consider private utility locating or potholing when utility conflicts are possible.
Step 5: Know the Difference Between Locating and Potholing
Utility locating and potholing are related, but they are not the same thing.
Utility locating helps mark the approximate path of existing utilities. Potholing, also called daylighting, physically exposes the utility so crews can confirm the exact location and depth.
This matters because utility marks are helpful, but they may not always tell the full story. Older plans can be inaccurate, utilities may have been installed differently than expected, and abandoned lines may not be shown at all.
Potholing is especially useful when:
- Digging near marked utilities
- Working in congested utility areas
- Installing new underground lines
- Crossing existing utility paths
- Planning directional boring or trenching
Step 6: Decide Whether Trenching or Directional Boring Makes Sense
If the project requires underground utility installation, there may be different ways to complete the work.
Trenching may be a good option when:
- The area is open and accessible
- Surface disruption is acceptable
- Restoration is simple
- The utility path is straightforward
Directional boring may be a better option when:
- The line needs to cross a driveway, road, sidewalk, or landscaped area
- Surface disruption needs to be minimized
- Open trenching would create too much disturbance
- The project requires a cleaner underground path
Devco Development & Engineering performs underground utility work such as directional boring, trenching, potholing, and hydro excavation, which gives project teams options depending on site conditions.

Step 7: Get Pricing Based on Real Site Conditions
Construction pricing can vary widely depending on the conditions of the property. A project that looks simple on the surface may become more expensive if there are utility conflicts, poor access, hard soil, or restoration requirements.
Cost factors may include:
- Soil conditions
- Utility conflicts
- Excavation depth
- Equipment access
- Surface restoration
- Traffic control
- Permit requirements
- Material disposal
- Unknown underground obstructions
A low bid is not always the best bid if it does not account for real site conditions. Property owners should ask contractors what is included, what is excluded, and what could change the price.
Step 8: Plan for Access, Safety, and Disruption
Construction work can affect how people use the property while the project is underway. Before work starts, property owners should understand how the contractor plans to manage access and safety.
Items to discuss:
- Where equipment will enter and exit
- Where materials will be staged
- Whether driveways or parking areas will be blocked
- How tenants, customers, or residents will access the property
- Work hours
- Noise and dust
- Temporary utility interruptions
- Safety barriers and signage
Planning for disruption ahead of time can reduce confusion once construction begins.
Step 9: Leave Room for Unknowns
Even well-planned projects can run into surprises. This is especially true when excavation, underground utilities, older properties, or unknown site conditions are involved.
Common surprises include:
- Unmarked utilities
- Inaccurate old plans
- Hard rock
- Poor soil conditions
- Abandoned pipes or conduit
- Permit delays
- Utility company coordination delays
- Weather or material delays
Property owners should build some flexibility into both the project schedule and budget.
Step 10: Choose Contractors Who Understand the Full Process
The right contractor should understand more than just the physical work. They should be able to help identify risks, explain the process, communicate clearly, and plan around site conditions.
Things to look for:
- Experience with similar projects
- Proper licensing and insurance
- Clear written scope
- Safety practices
- Knowledge of underground utilities
- Good communication
- Ability to explain potential risks before work begins
For projects involving underground utility installation, trenching, directional boring, potholing, or hydro excavation, experienced utility contractors such as Devco Development & Engineering can help property owners better understand what needs to happen before construction begins.
Conclusion
Starting a construction project is not just about hiring a contractor and beginning work. A successful project starts with planning, site review, permit checks, utility locating, realistic pricing, and clear communication.
For beginners, the most important takeaway is simple: the more you understand before work starts, the fewer surprises you are likely to face once construction begins.